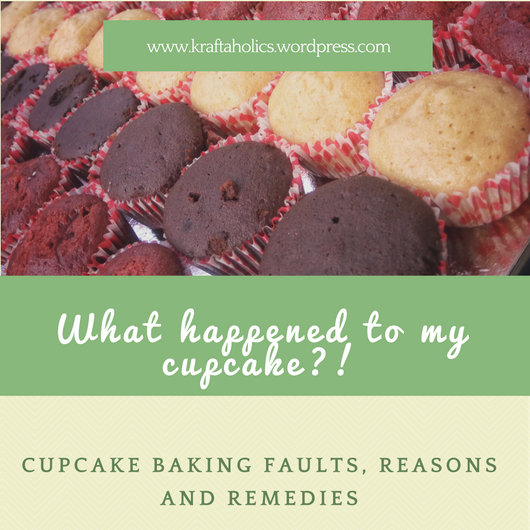
My mum’s birthday was in January and I baked a lot of cupcakes for her because I wanted to spell out the word ‘mum’.
I baked a lot of times because the cupcake pan I have has just six cups and I baked over 50 cupcakes.
Also, the harmattan during that period ain’t for kids so immediately my cupcakes come out of the oven I arranged them in an airtight container. The next morning, I discovered that my cupcakes were sticky and some of the liners had peeled away. That led me to research on cupcake faults and I figured out some of you might just be having the same issues. Hope this post helps.
- LINERS THAT PEEL: some of the common causes are;
- Excess moisture: who doesn’t love a moist cupcake? However, too much of everything is bad and that was exactly what happened to me when I was baking my mum’s cupcakes, storing warm cupcakes in an airtight container is a huge no-no.
- Leaving hot cupcakes in their tins: if you leave them there, steam builds up and moisture occurs causing the liners to peel
- Bad quality liners: sometimes, the liners may just be the cause of our frustration. Endeavour to buy quality liner and most times the fancy ones aren’t always nice.
Remedies include:
- allow cupcakes to cool completely before storing
- change your liner if you identify your liner as the cause
- Gently remove cupcakes from pan immediately after baking.
- SINKING INGREDIENTS: cupcake batters are usually thin and ingredients like fruits or raisins are heavy, that may not be the only cause, check out this post on cake faults and remedies
- DRY CUPCAKES: someone once ate my cupcakes and exclaimed they are so moist and perfect; the one I ate the other day is hard like rock. Culprit? Too much dry ingredients {cocoa powder or flour}, too much rising agents, over baking or too much heat.
REMEDIES:
- Set a timer! Utilize the timer on your phone. Cupcakes are mini cakes; they bake faster. My chocolate cupcake bakes in less than 15 minutes so imagine what an extra 5 minutes would do to it. So set a timer and be sure not to over bake them.
- Measurement is key. Measure correctly and avoid adding extra {popularly called ‘Jara’ in Nigeria}.
- If the weather dries out your cupcakes, put them in an airtight container and microwave for 20 – 30 seconds.
- Check your oven temperature.
- CUPCAKES THAT SHRINK/SINK: there is literally no feeling worse than bringing out your perfectly baked cupcake and watching it deflate/sink before you. Before three minutes elapses, they end up looking like ugly little things with such an annoying dense texture. The question is why does this happen?
- Under baked cupcakes
- Over mixing /beating the batter
- Expired rising agents
REMEDIES
- Make sure your cupcakes are perfectly baked; insert a skewer into your cupcake and ensure the skewer comes out clean before you bring it down.
- It’s very easy to over mix your batter, so mix till your ingredients are perfectly mixed.
- If your rising agent is older than three months, dump it in the bin
- STICKY TOP: cupcakes need time to cool before storage and this was discovered by experience. Remember the story I told in the beginning? Well this was the reason why almost all the cupcakes had sticky tops the next day. Storing warm cupcakes would lead to sticky tops.
REMEDY
- Allow your cupcakes to cool for a couple of hours before storing. Even if the top feels cold when you touch it, chances are that the middle isn’t cold yet. So give it time to cool all the way through
- OVERFLOWING CUPCAKES: I have fallen a victim to this many times, put in your cupcakes into your oven and they would be looking so amazing making you anticipate the outcome, only for you to take it out and they are looking so shapeless and all over the pan. Major culprit? Over filling each cup. Another culprit is too much leavening agents.
REMEDY
- Do a test batch; I could tell you to fill your cups ¾ full or ½ full but I don’t know your recipe neither do I know the temperature or your oven or your environment. So fill three cups; the first ½ full, the second 2/3 full and the last ¾ full and see how they rise and pick the one you like best and stick with it.
- Step down the quantity of your leavening agent and ensure you measure correctly. Don’t eyeball it!
These are the basic problems I’ve encountered; if I didn’t cover the issue you have experienced please do leave a comment below and I would surely get back to you ASAP.
Cheers!


Wow!!! Thank you for these eye openers. Took notes 😁
LikeLike